


-

Blog
Find out the latest news from the studio, around the house, on our travels and in the quilt world! Plus lots of free patterns an tutorials!
-

Shop
Choose from a variety of books, patterns, templates and online classes, all designed by Diane to increase accuracy and expand creativity! Find all the tools and inspiration you will need for your next project from the selection here.
-

Workshops
Offering a variety of classes and workshops for quilters of all skill levels. Whether you are a beginner or an experienced quilter, Diane has something for you. Classes cover a range of topics, from basic techniques to advanced design concepts, tailored to your groups needs.
-
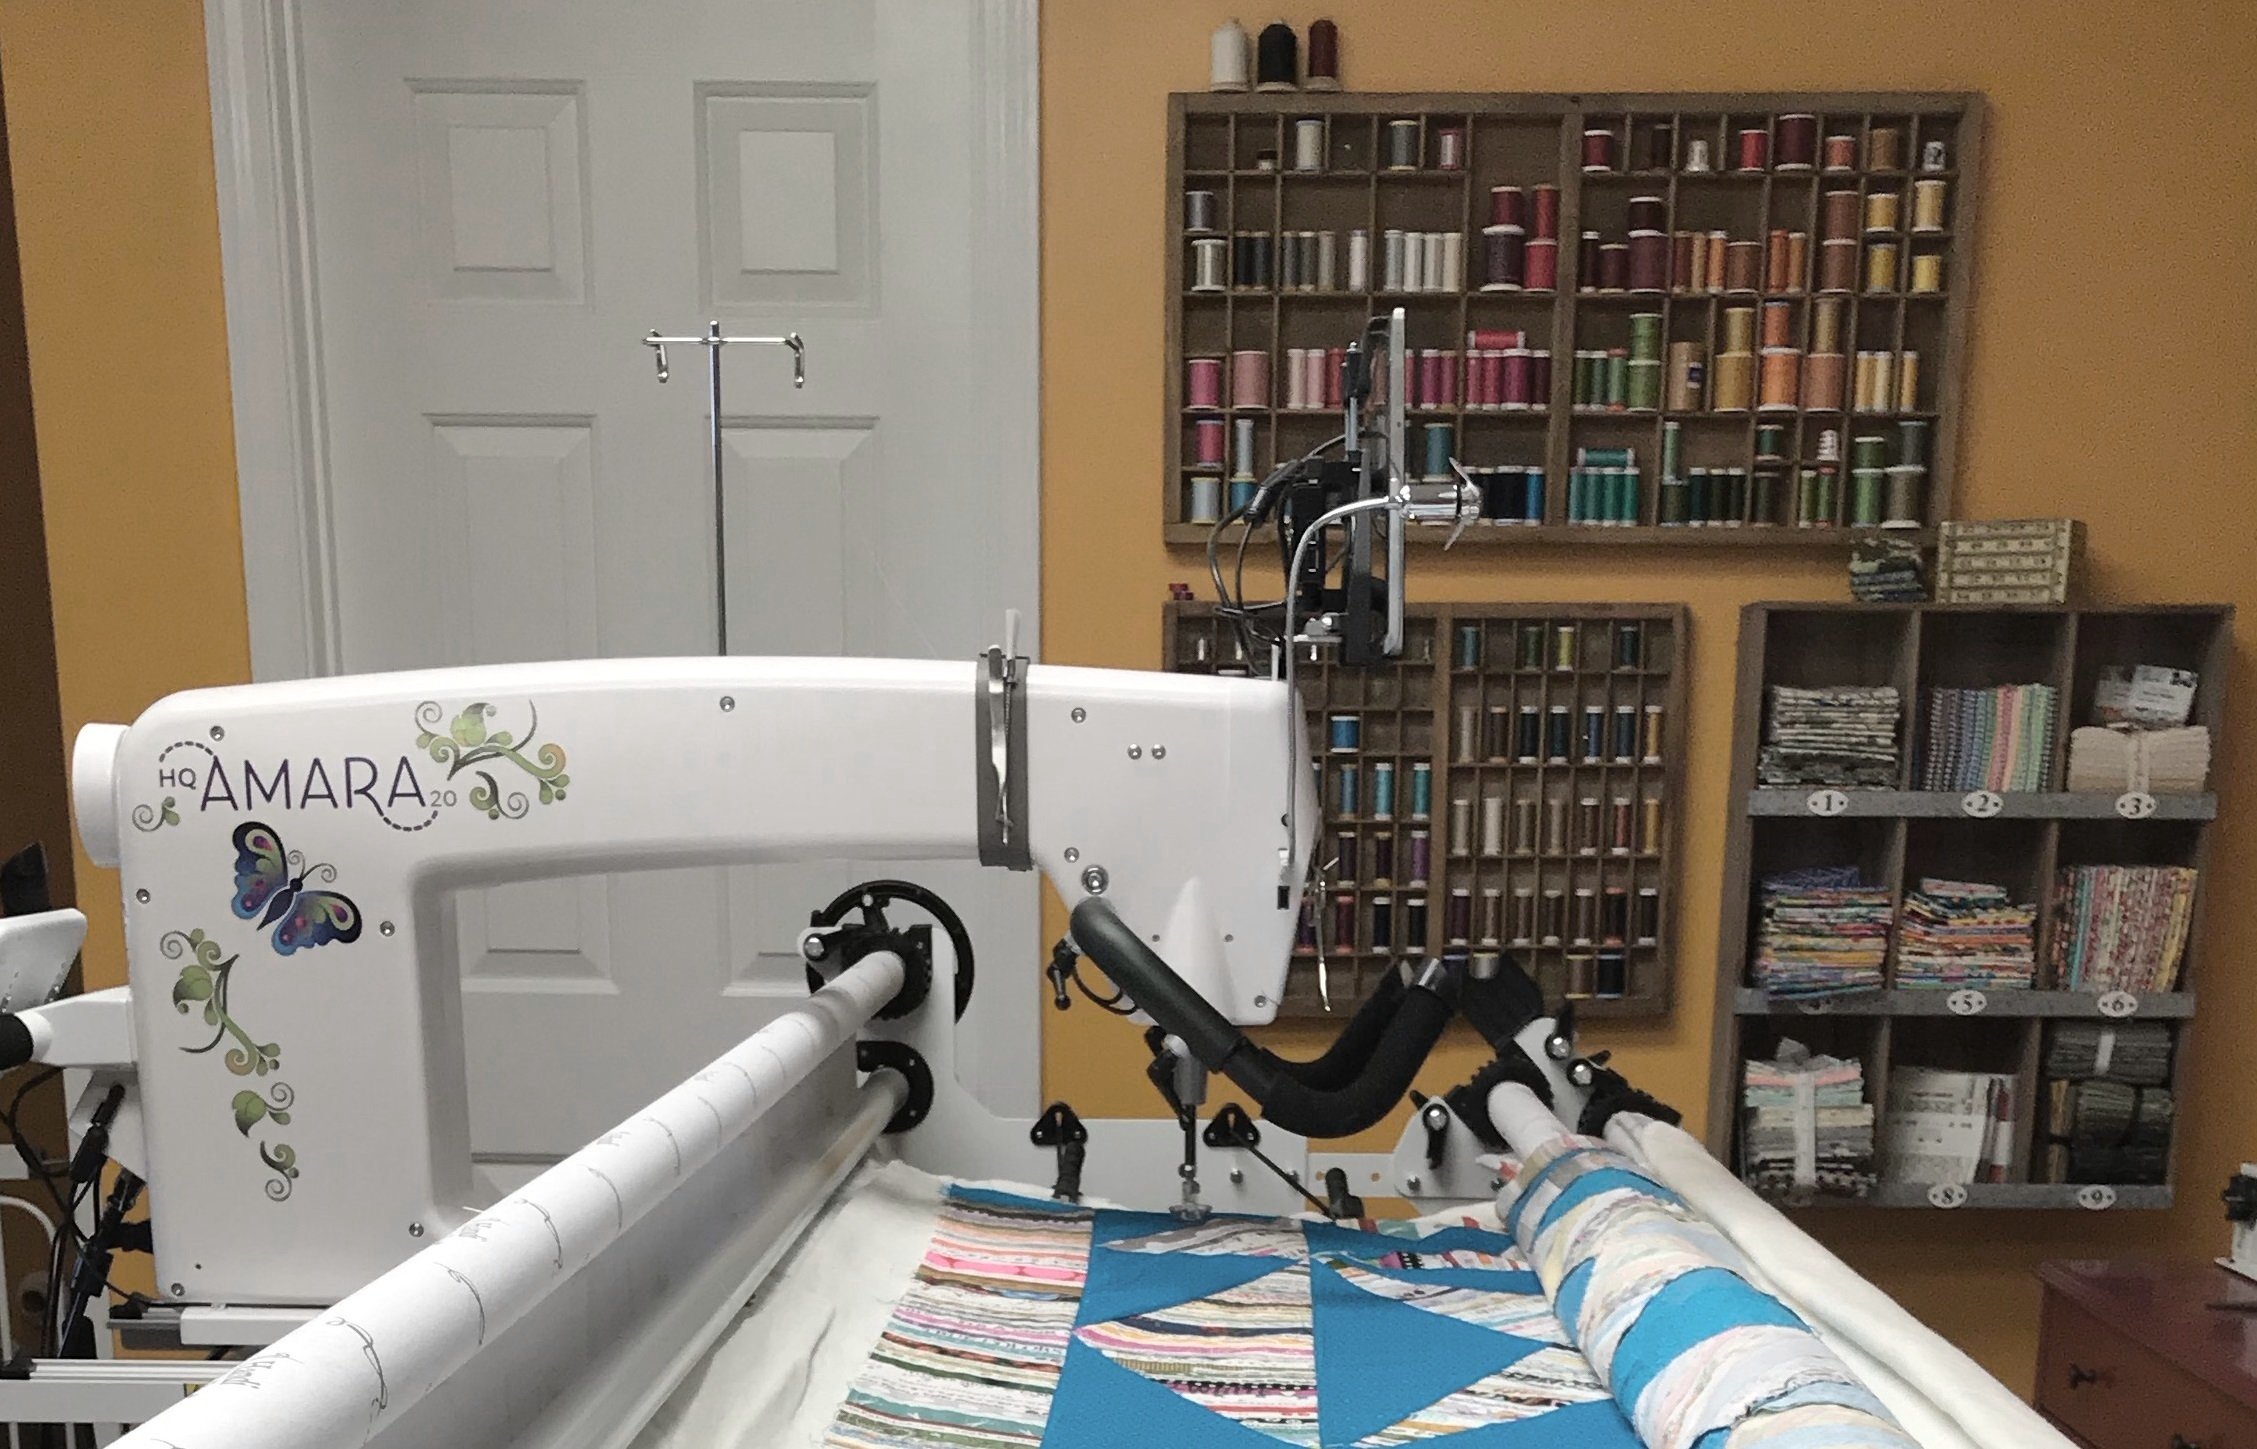
Longarm Quilting
Specializing in digital edge-to-edge quilting in two weeks or less, Choose from a wide selection of pantographs, batting and thread colors for a quilt that is truly one of a kind.