
Name Tag Tutorial
Supplies Needed:
outside fabric cut 5" x 15"
lining fabric cut 5" x 13"
strap fabric cut 2" x WOF
clear vinyl cut 4" x 5"
zipper cut 5" long


Layer the clear vinyl piece on top of the outside fabric beginning 6" from the end.
Fold the outside fabric over the edge of the vinyl.
Stitch one quarter inch away from the edge going through the vinyl and both layers of the outside fabric. This will create the bottom seam of the pocket.
Fold the front flap back over to the back side so the wrong sides of the fabric are facing one another.
Leave a half inch of fabric and sew a line just past the edge of the vinyl. This creates a small flange for the bottom of the pocket and makes it a bit more stable.
We have created the bottom edge of the clear pocket and now we need an open flap for the top edge of the pocket so we can insert the name tag but the flap will protect it from falling out.
Simply fold the top side of the fabric over and back again to create the flap. (where I am pointing)
Carefully sew a straight seam across the fabric to create a secure flap, taking care NOT to sew through the clear vinyl.
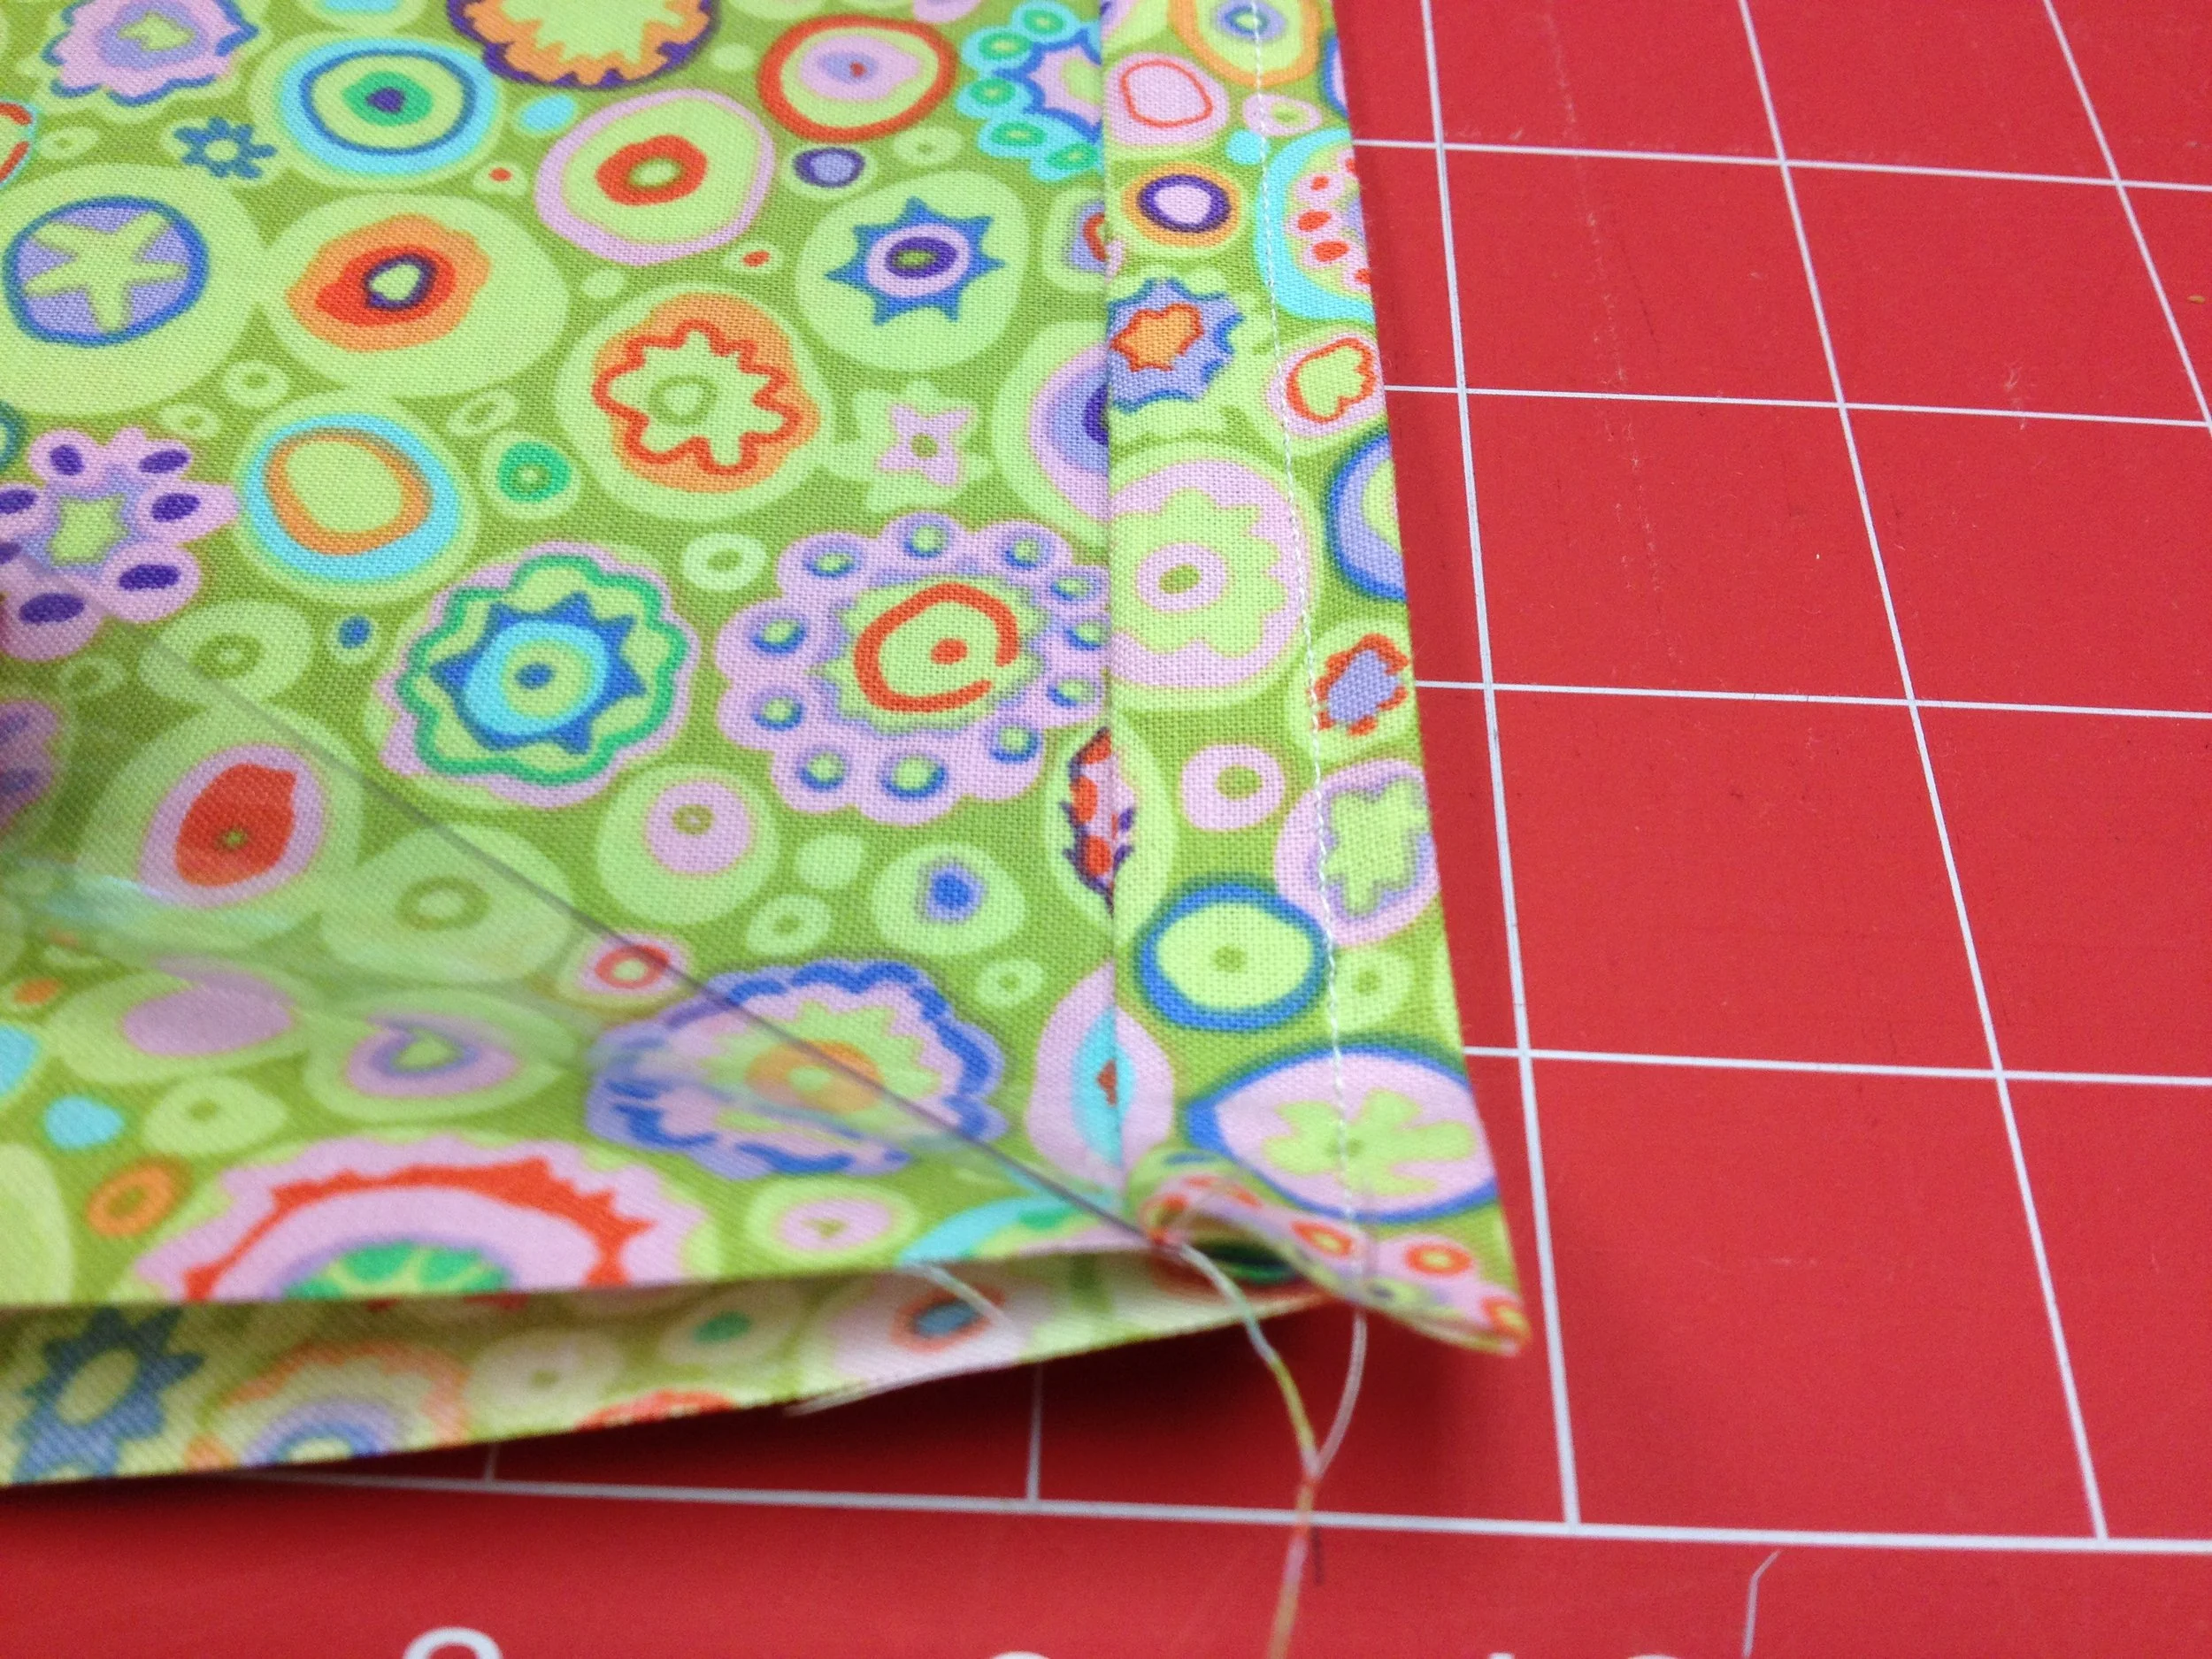
This is what the back side will look like once the three seams have been sewn.
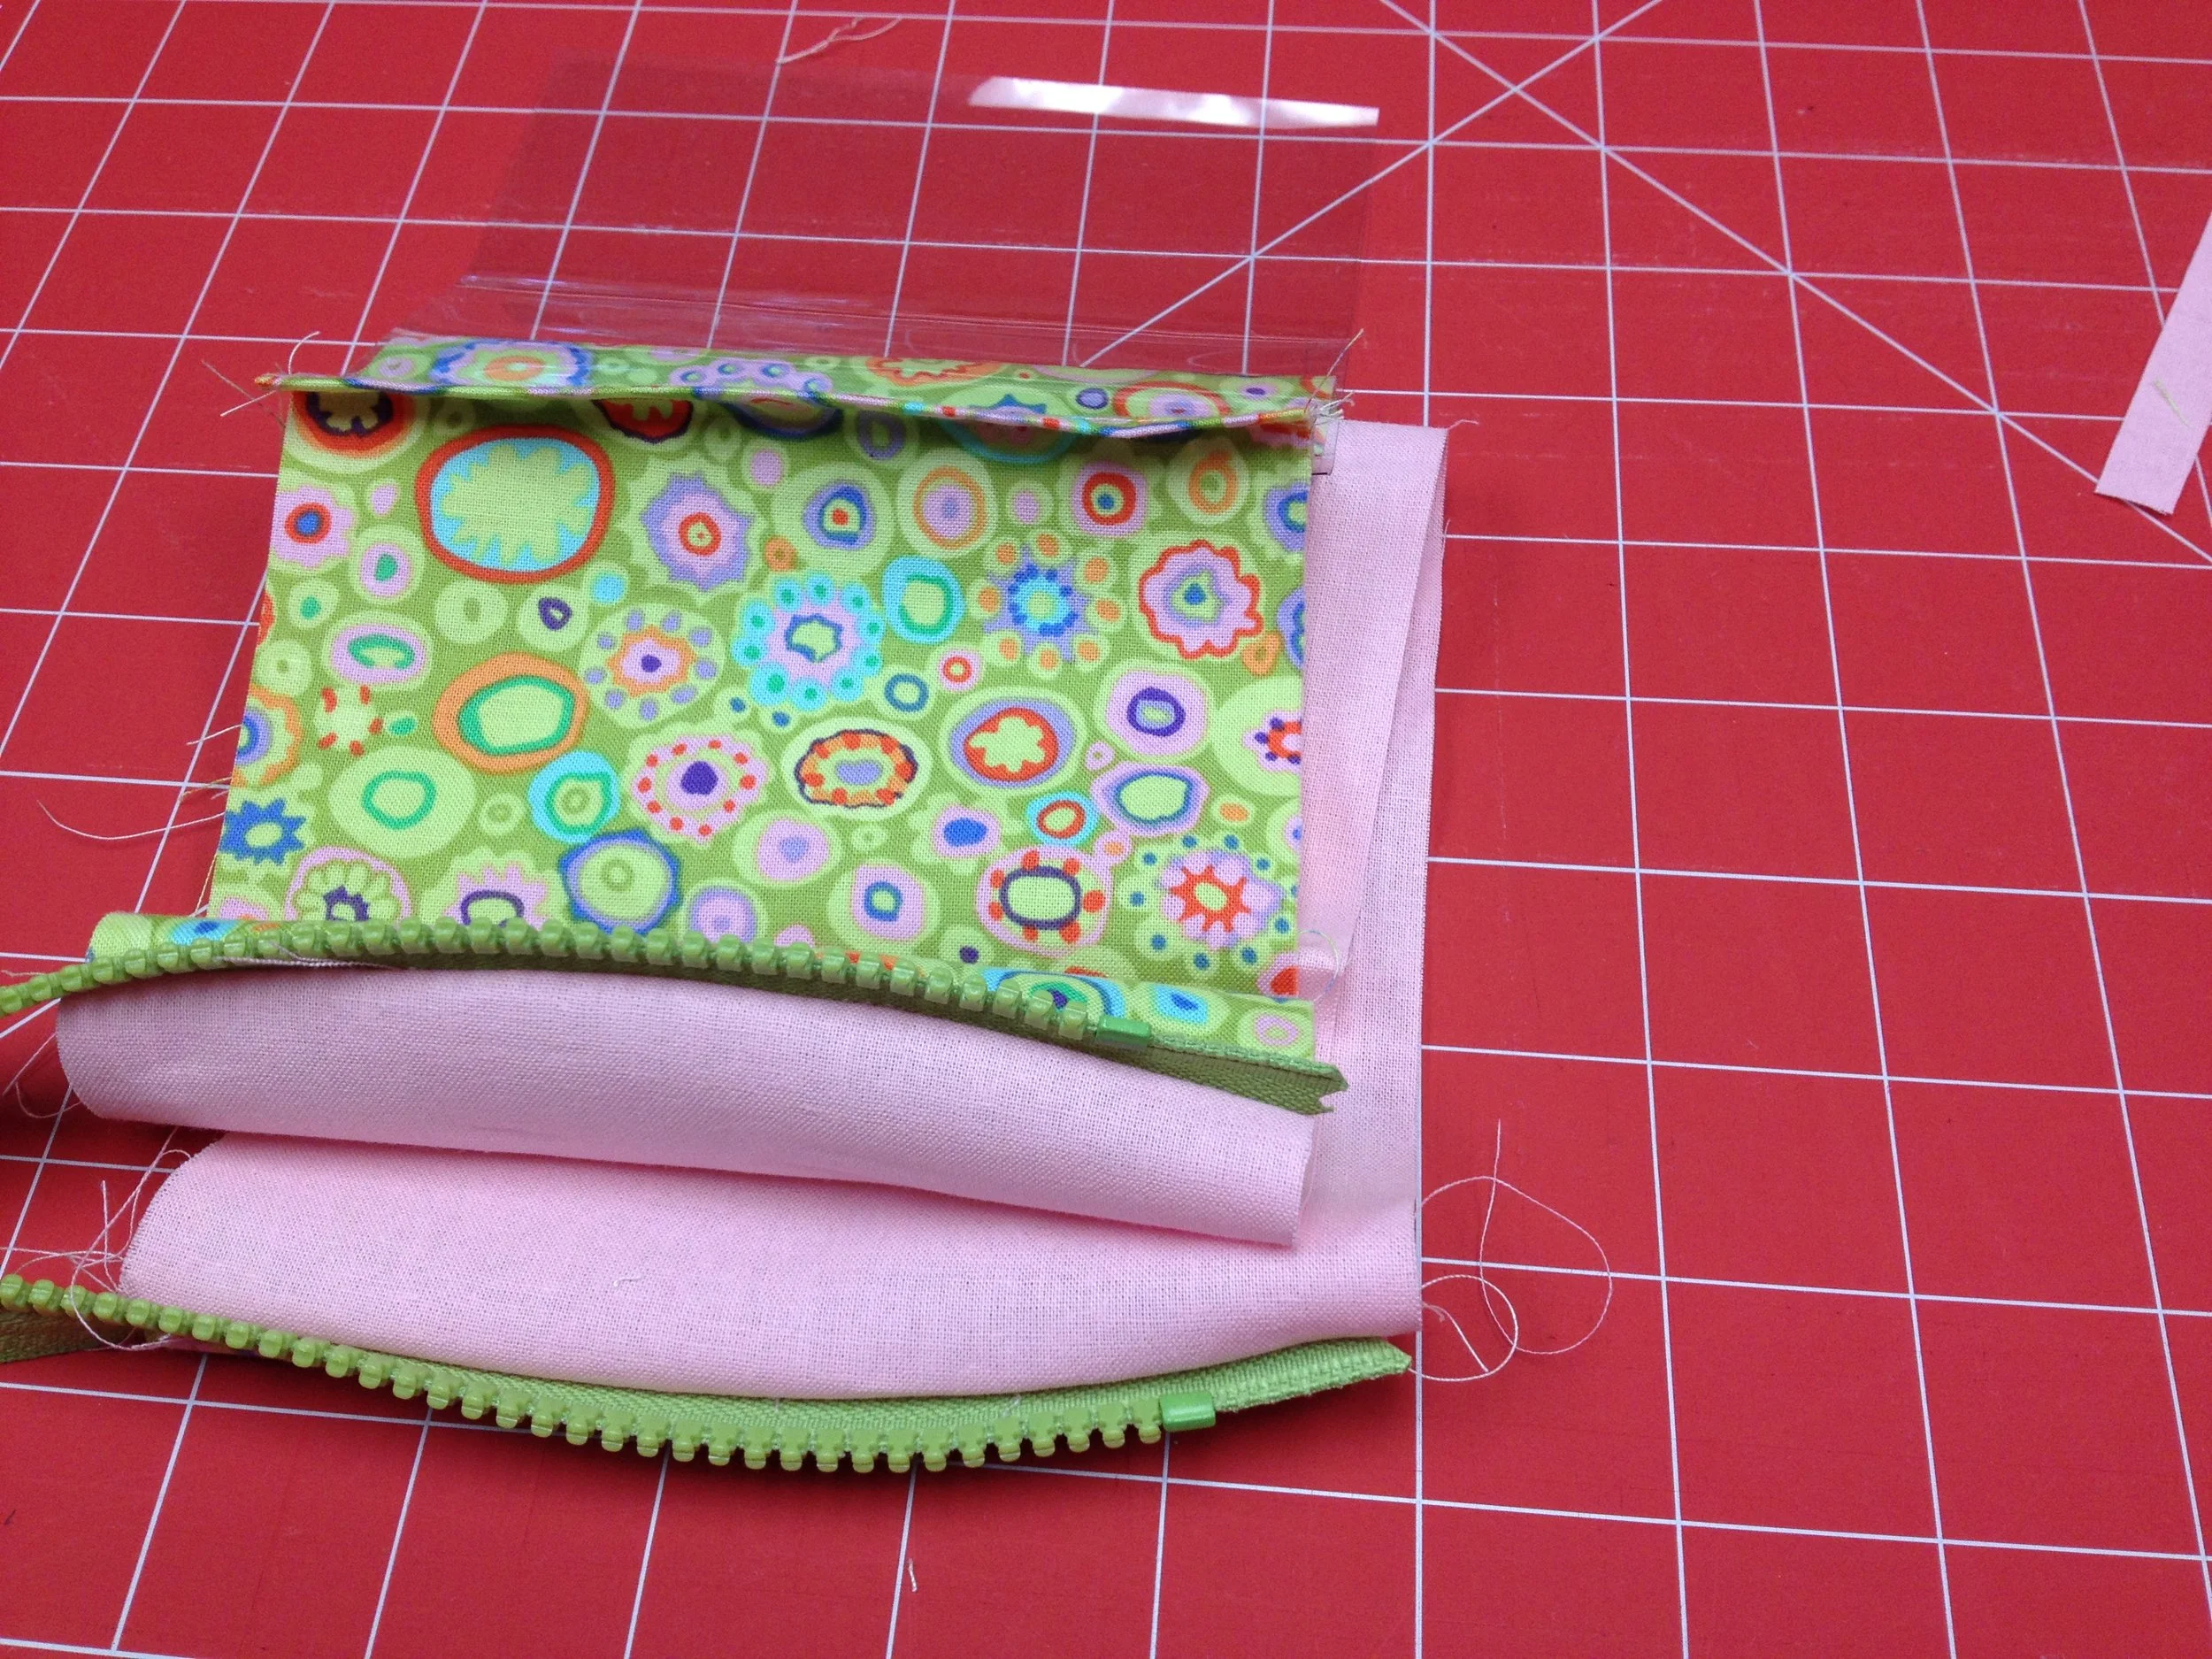
Layer the lining fabric over under this and trim to the correct size. My two varied because I wanted to make the repeat of the pattern show.
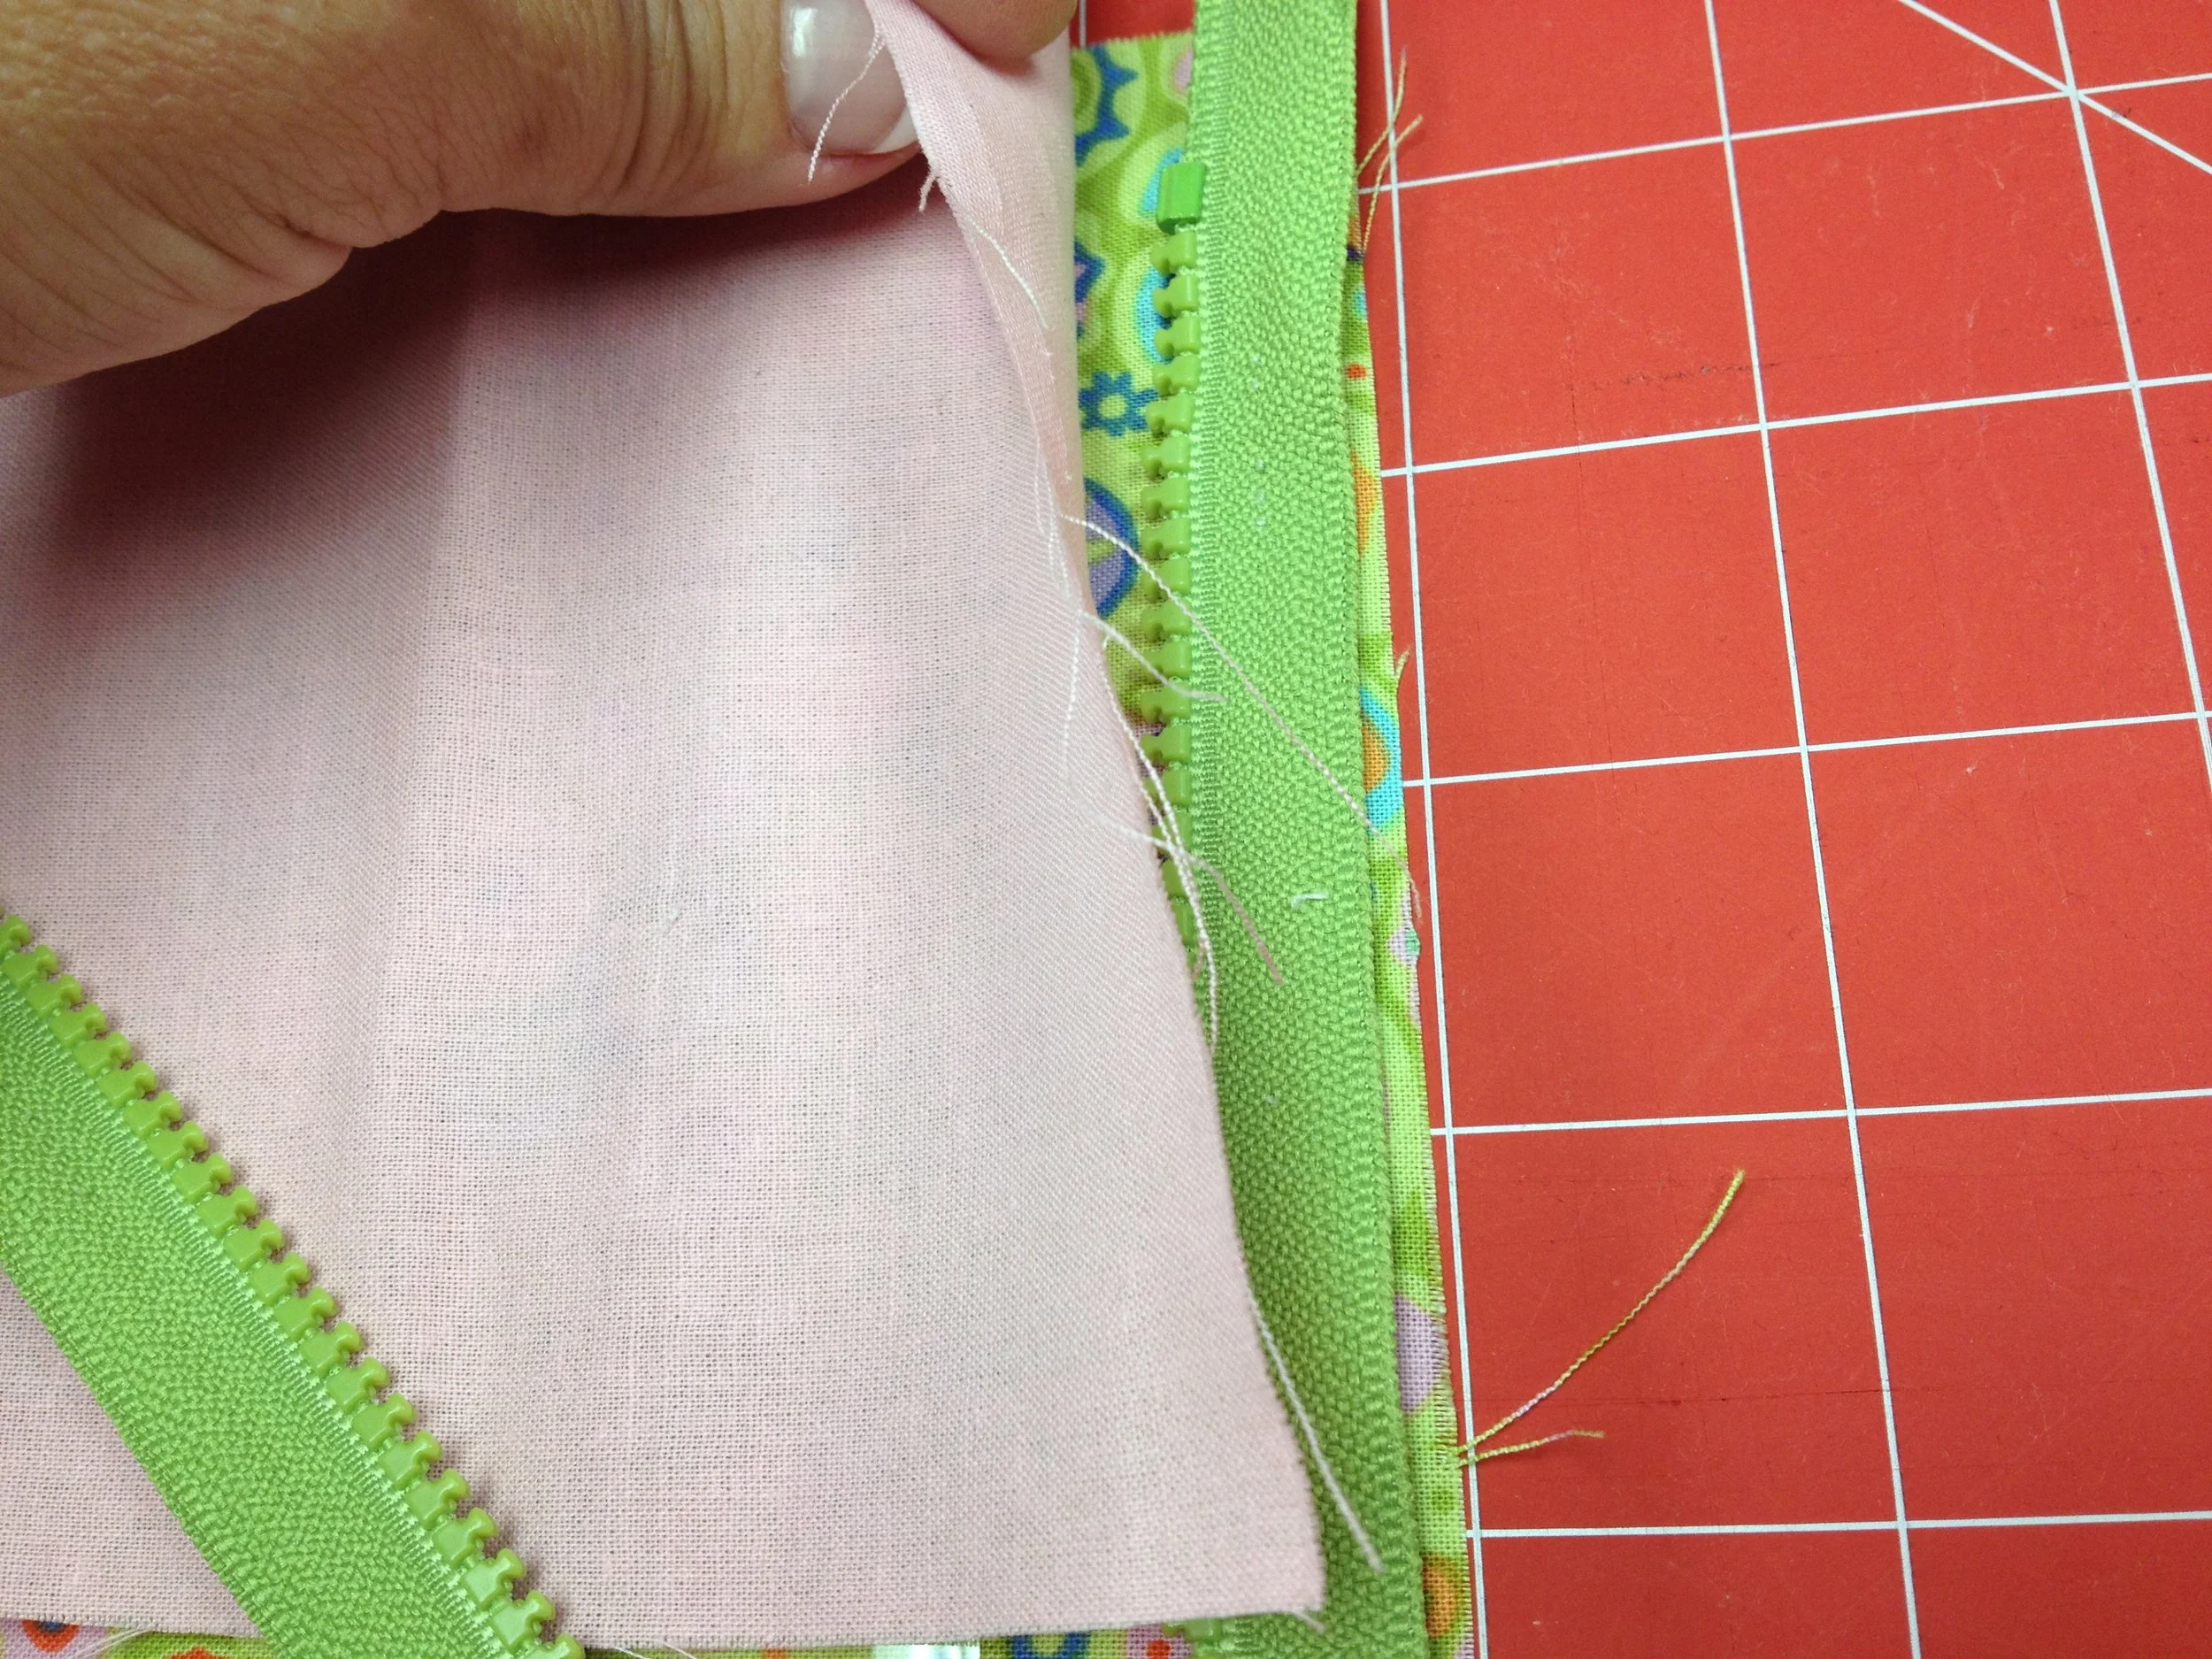
Unzip the zipper, move your needle to the left (or use a zipper foot) and sew the zipper between the lining and the outside fabric with the right sides together. Be sure there is enough room at the end of the zipper to secure it with binding later. (see very top of photo)
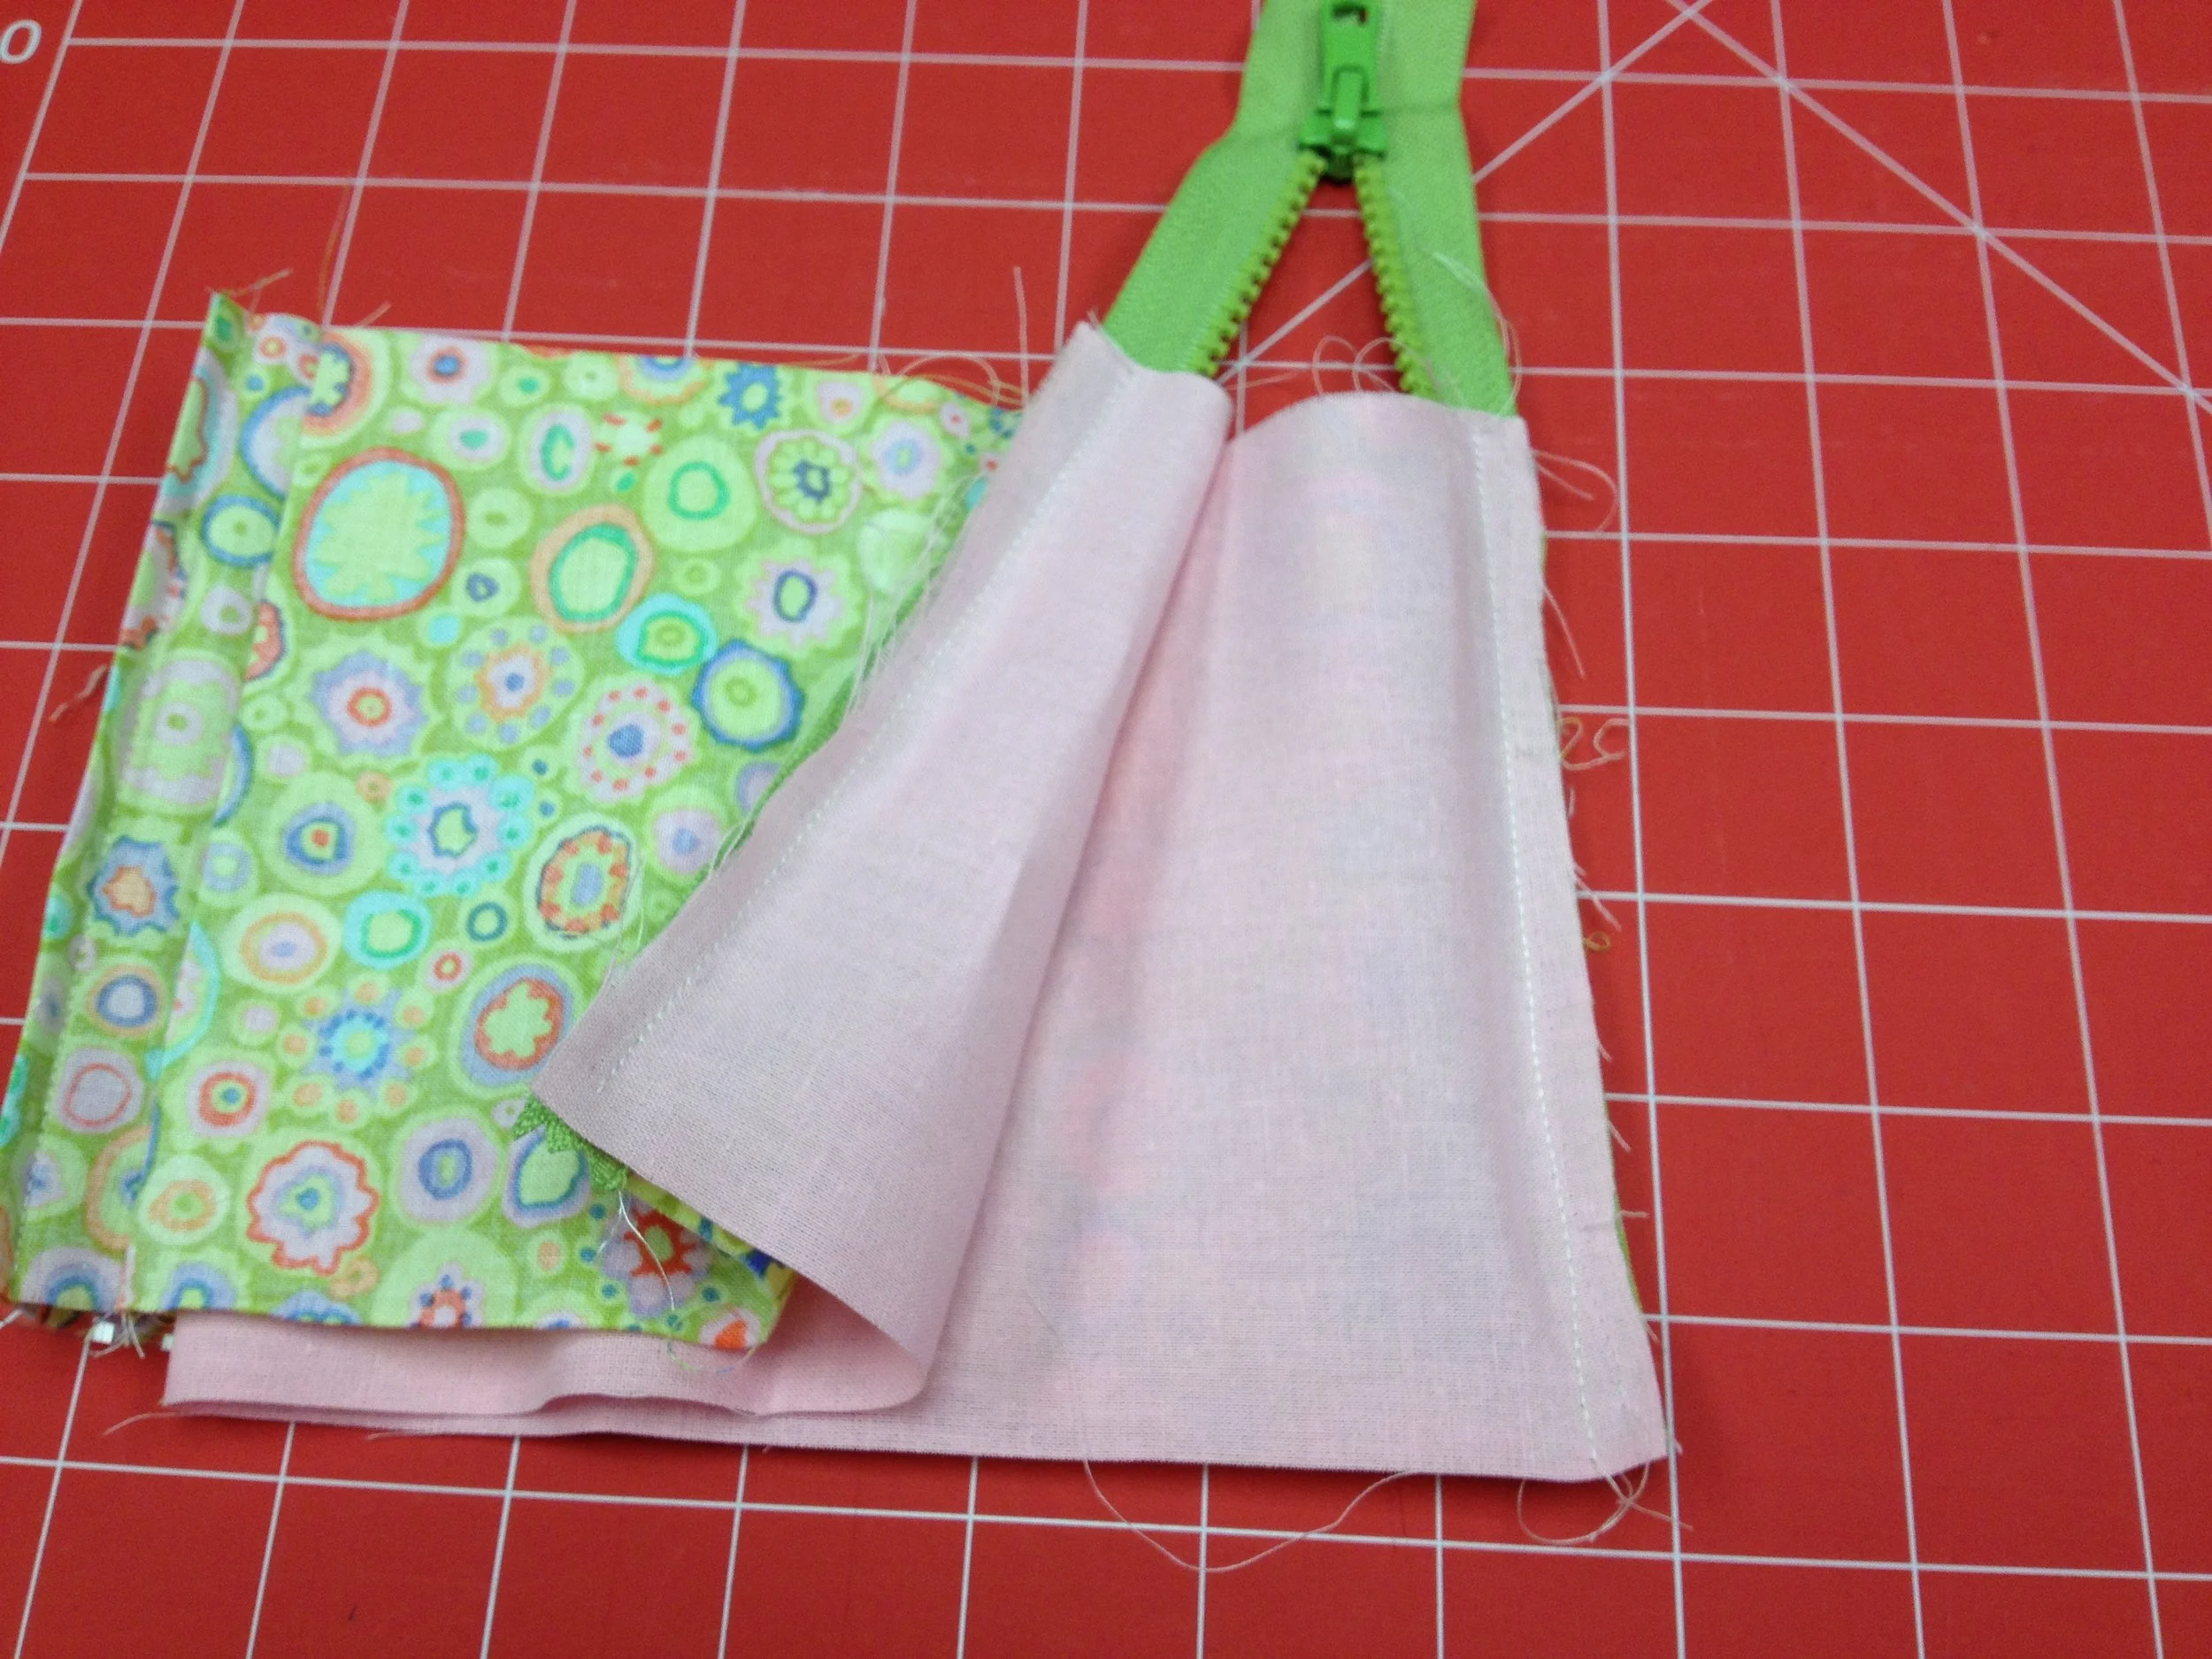
Now that the two sides of the zipper have been sewn its time to flip the entire thing inside out to reveal the zipper and the clear vinyl pocket.
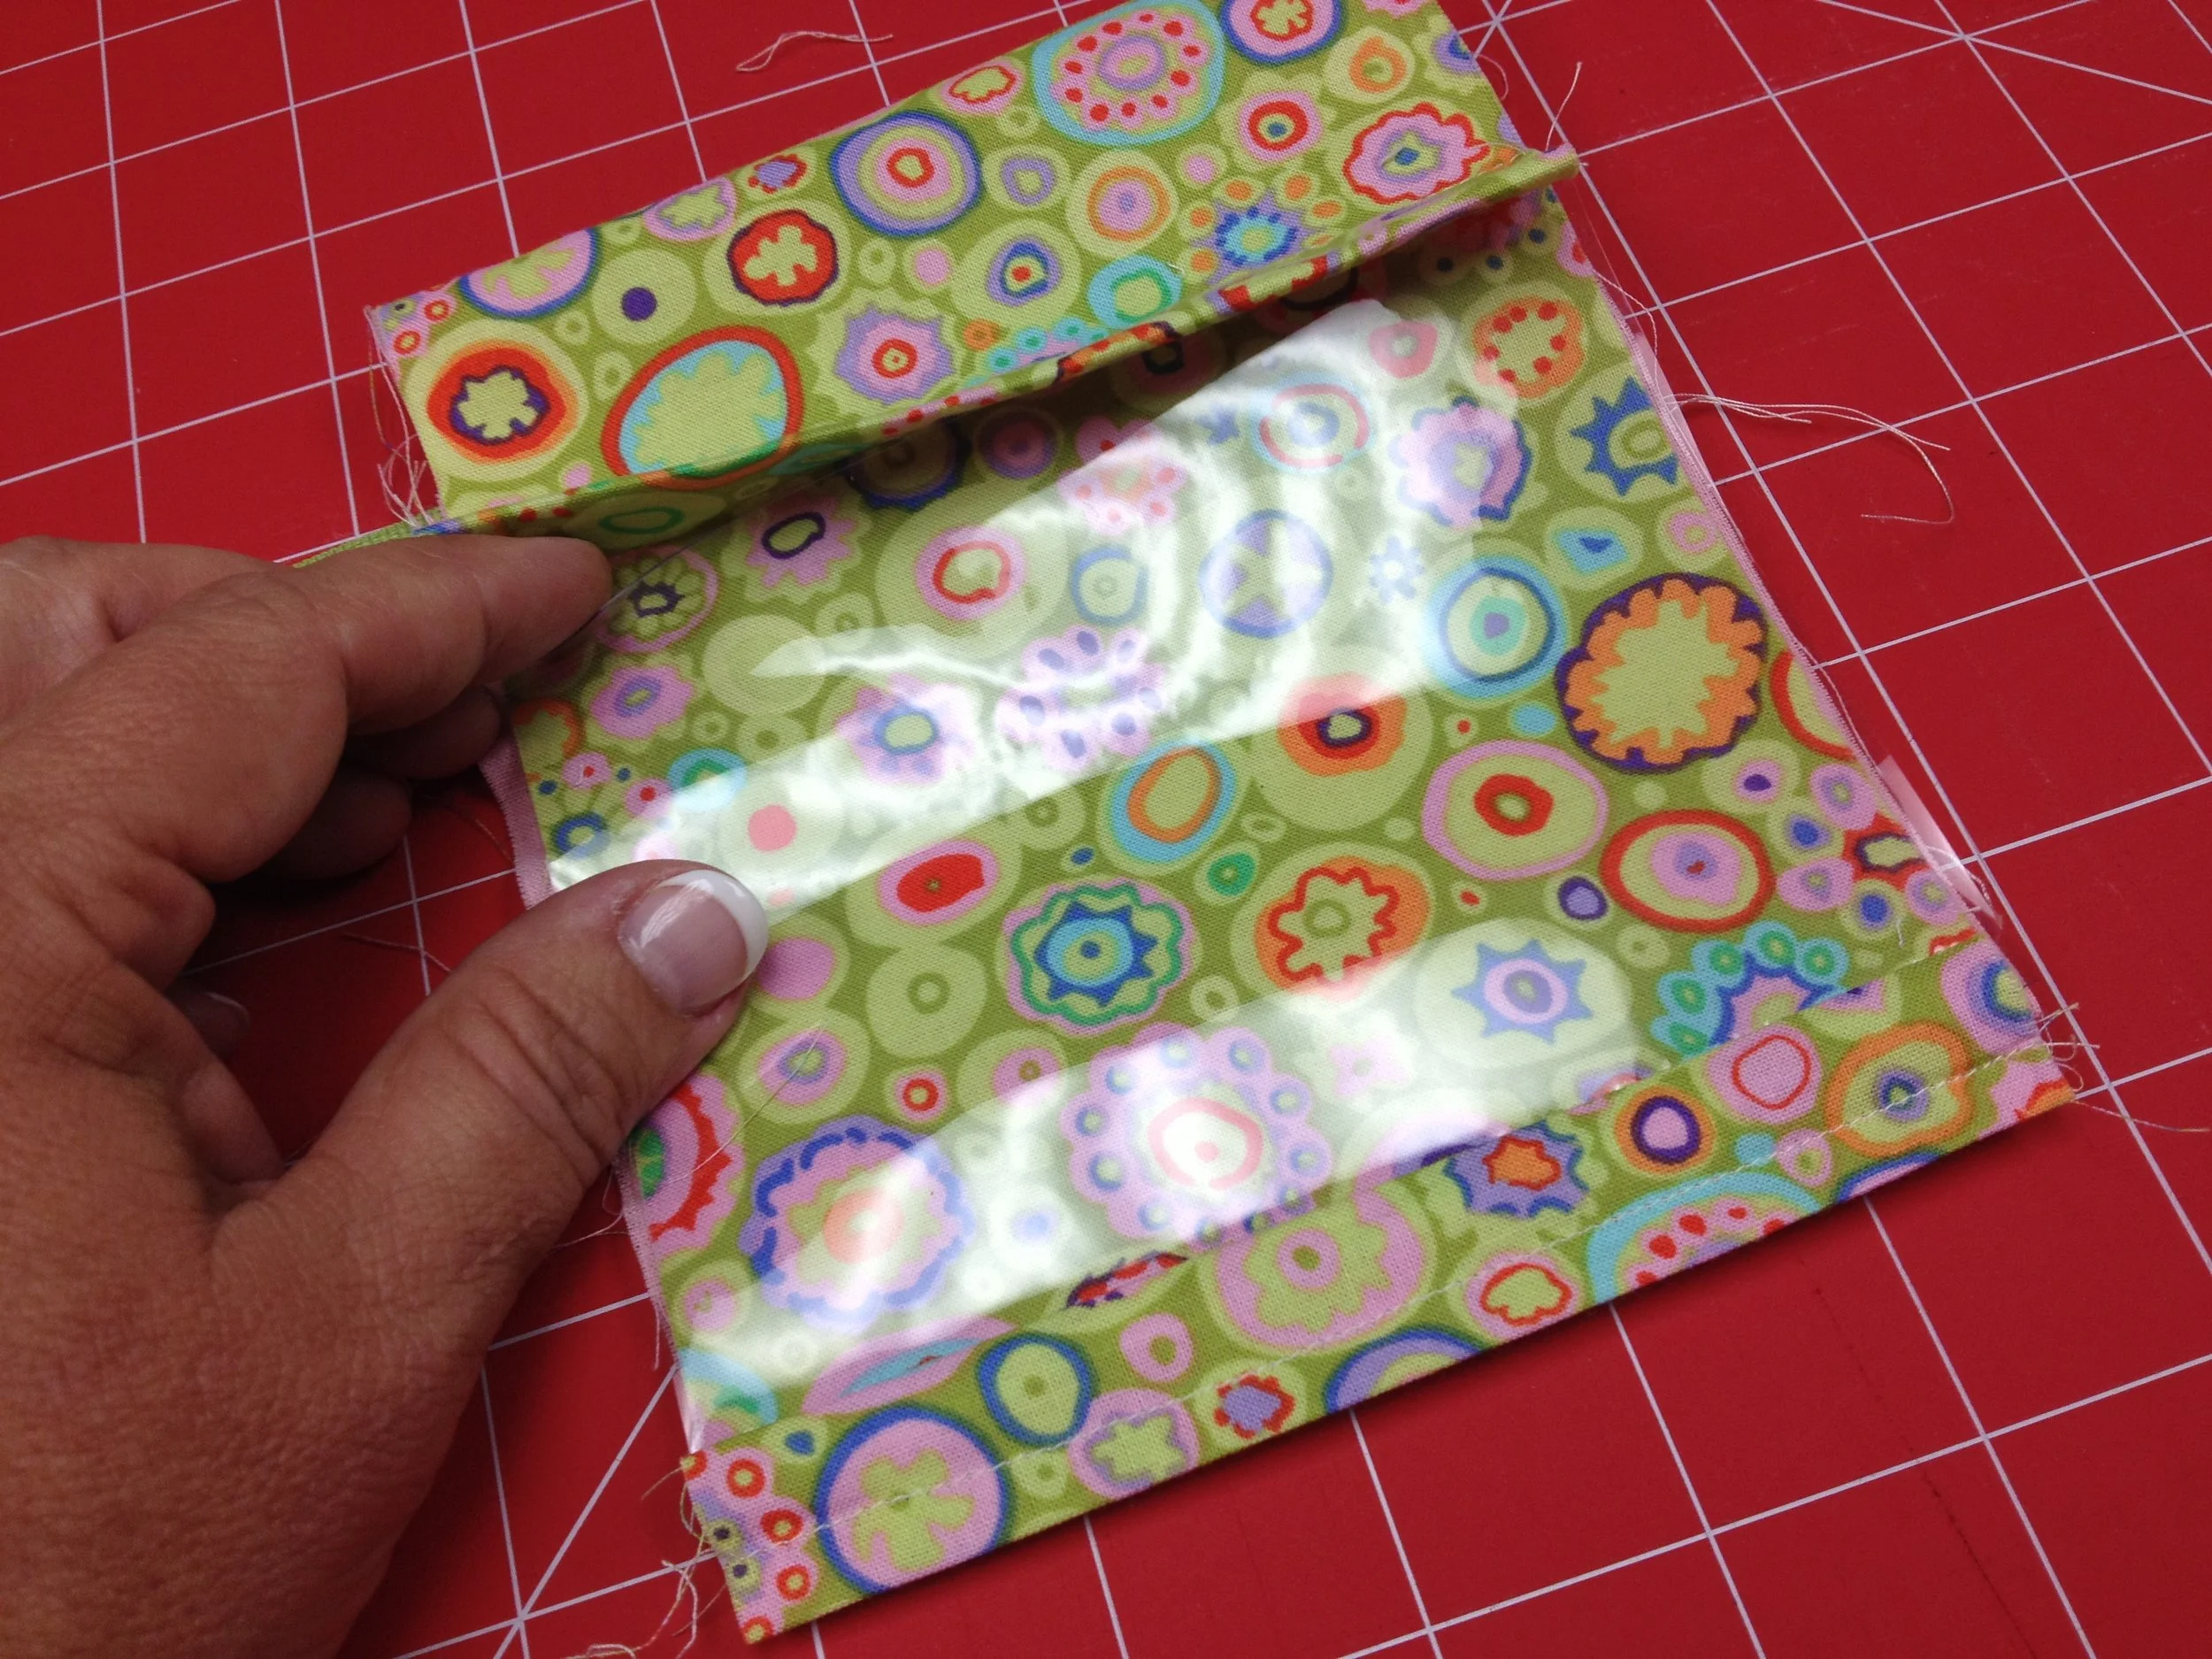
Topstitch along the two edges of the zipper (optional, I just like the finished look it gives)
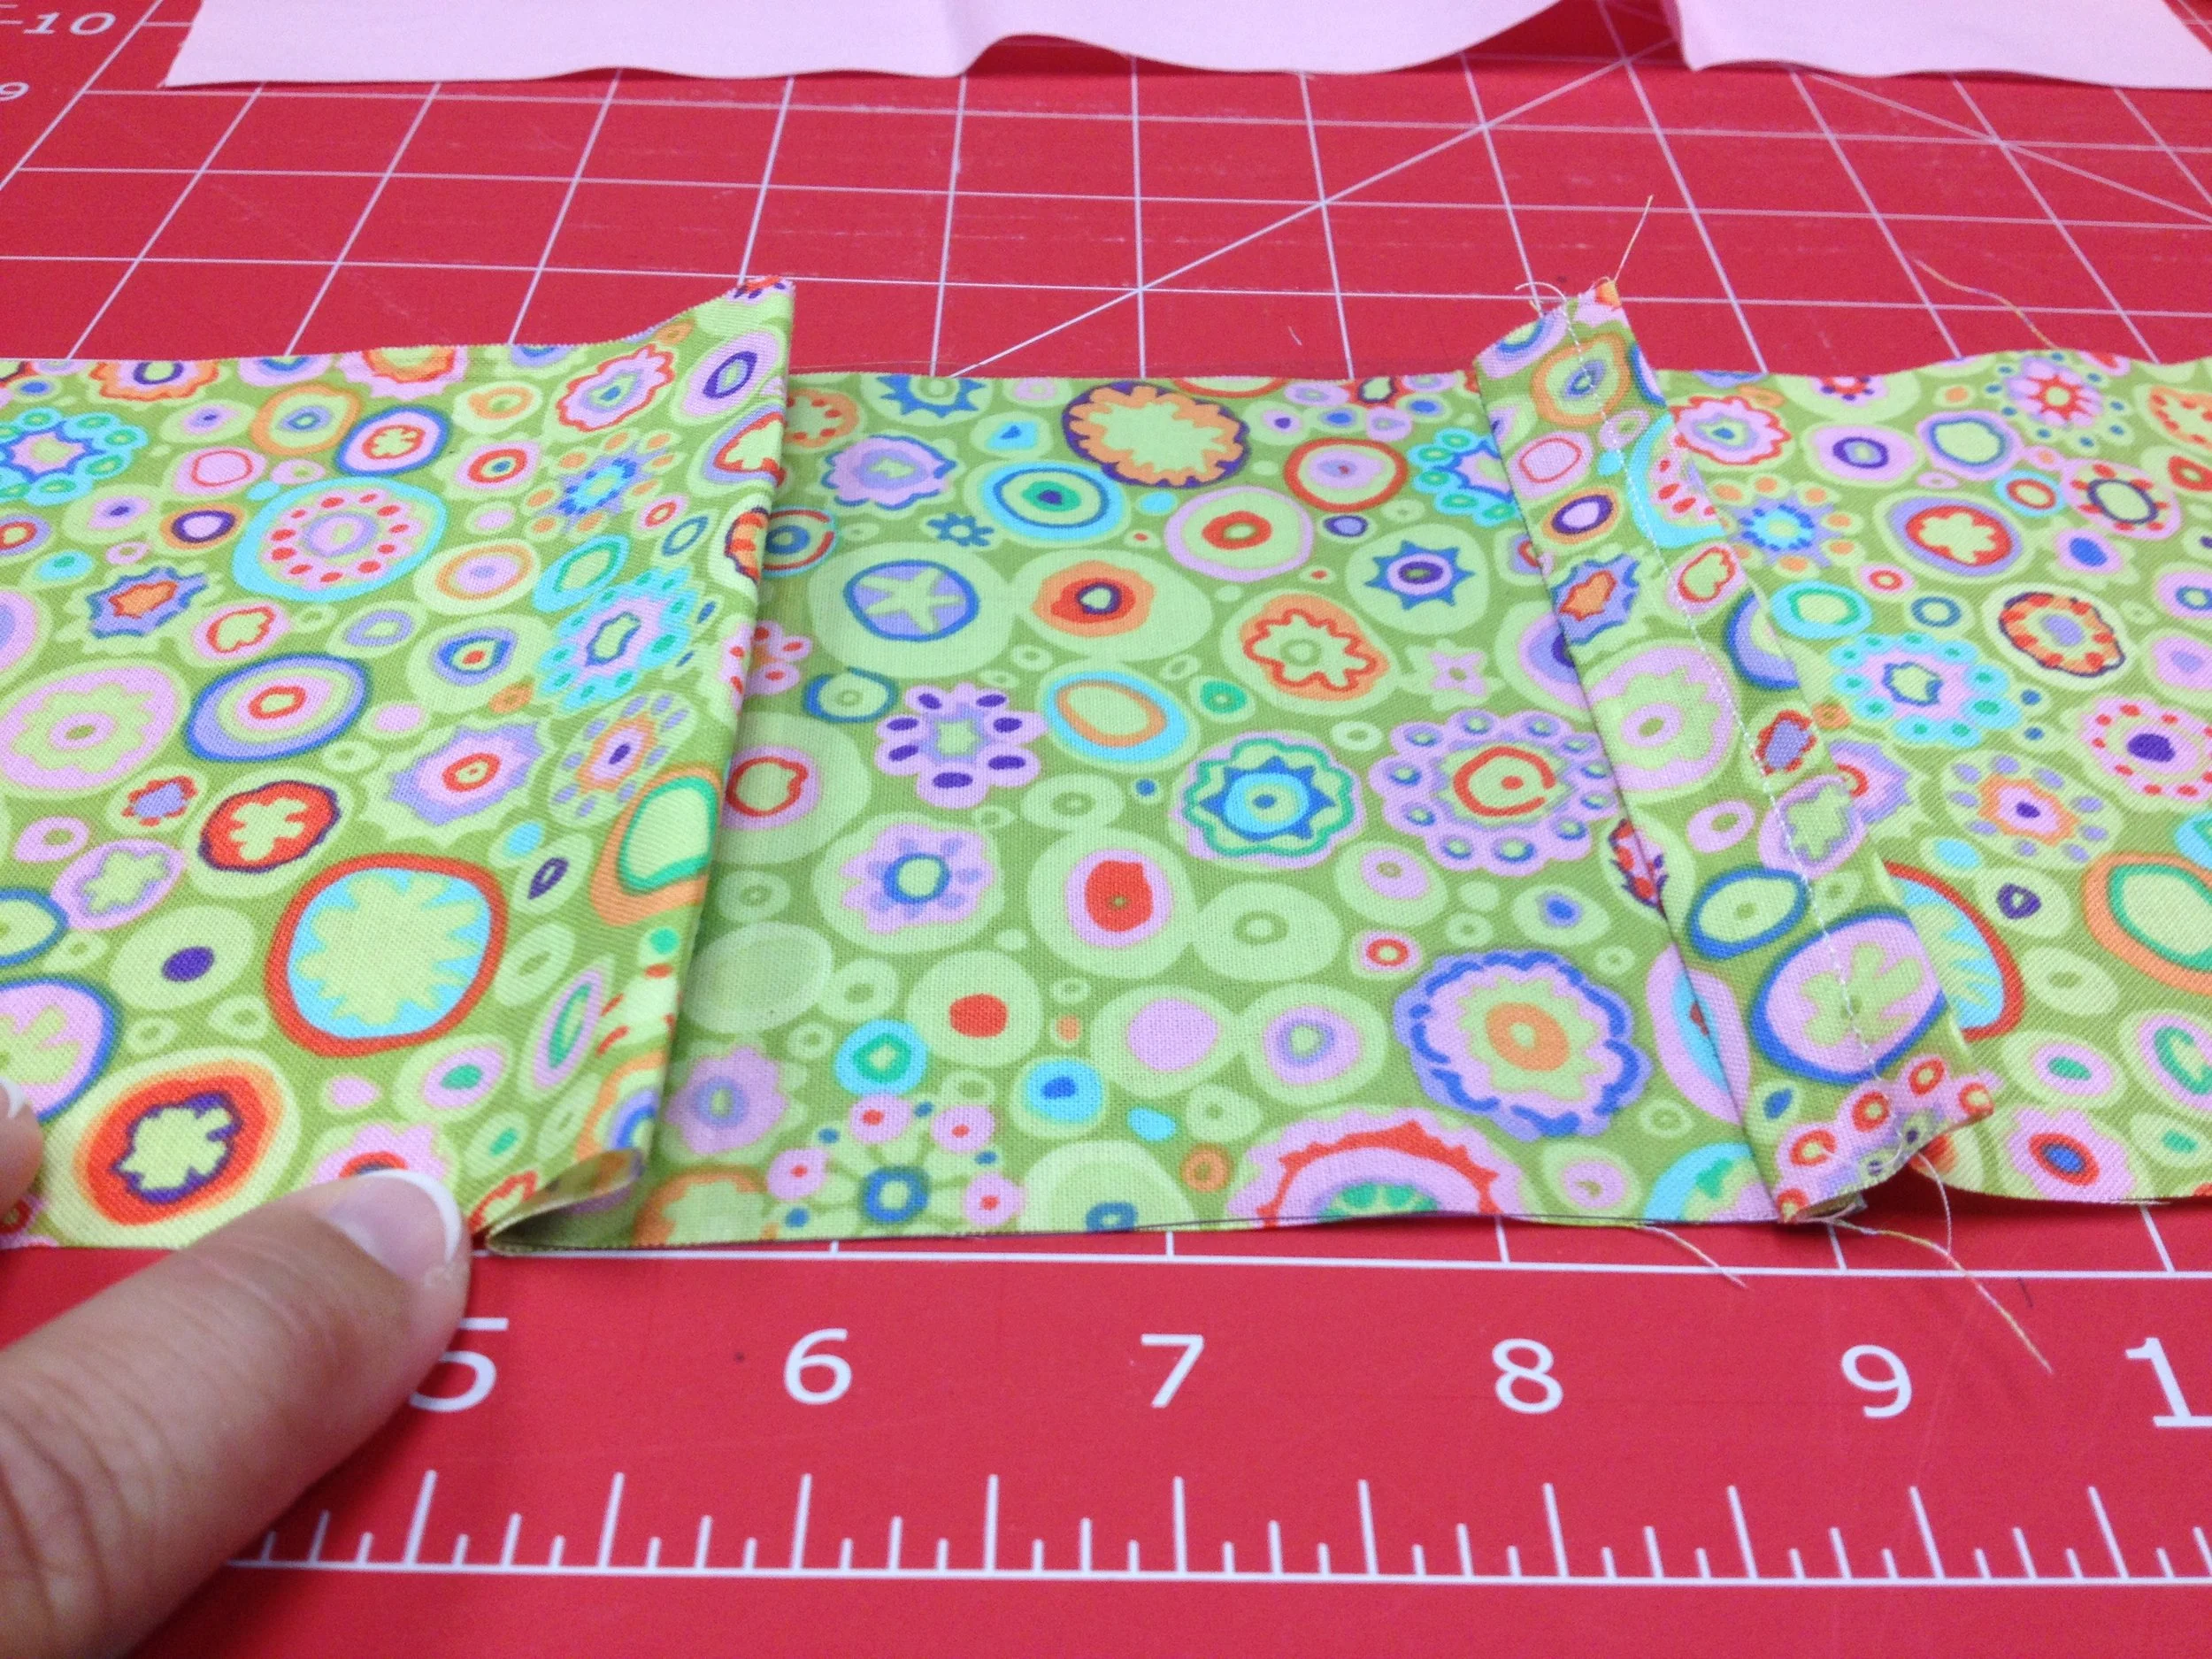
Adjust it until it lies flat and the flap is laying over the vinyl. The construction is now done except for adding the strap.
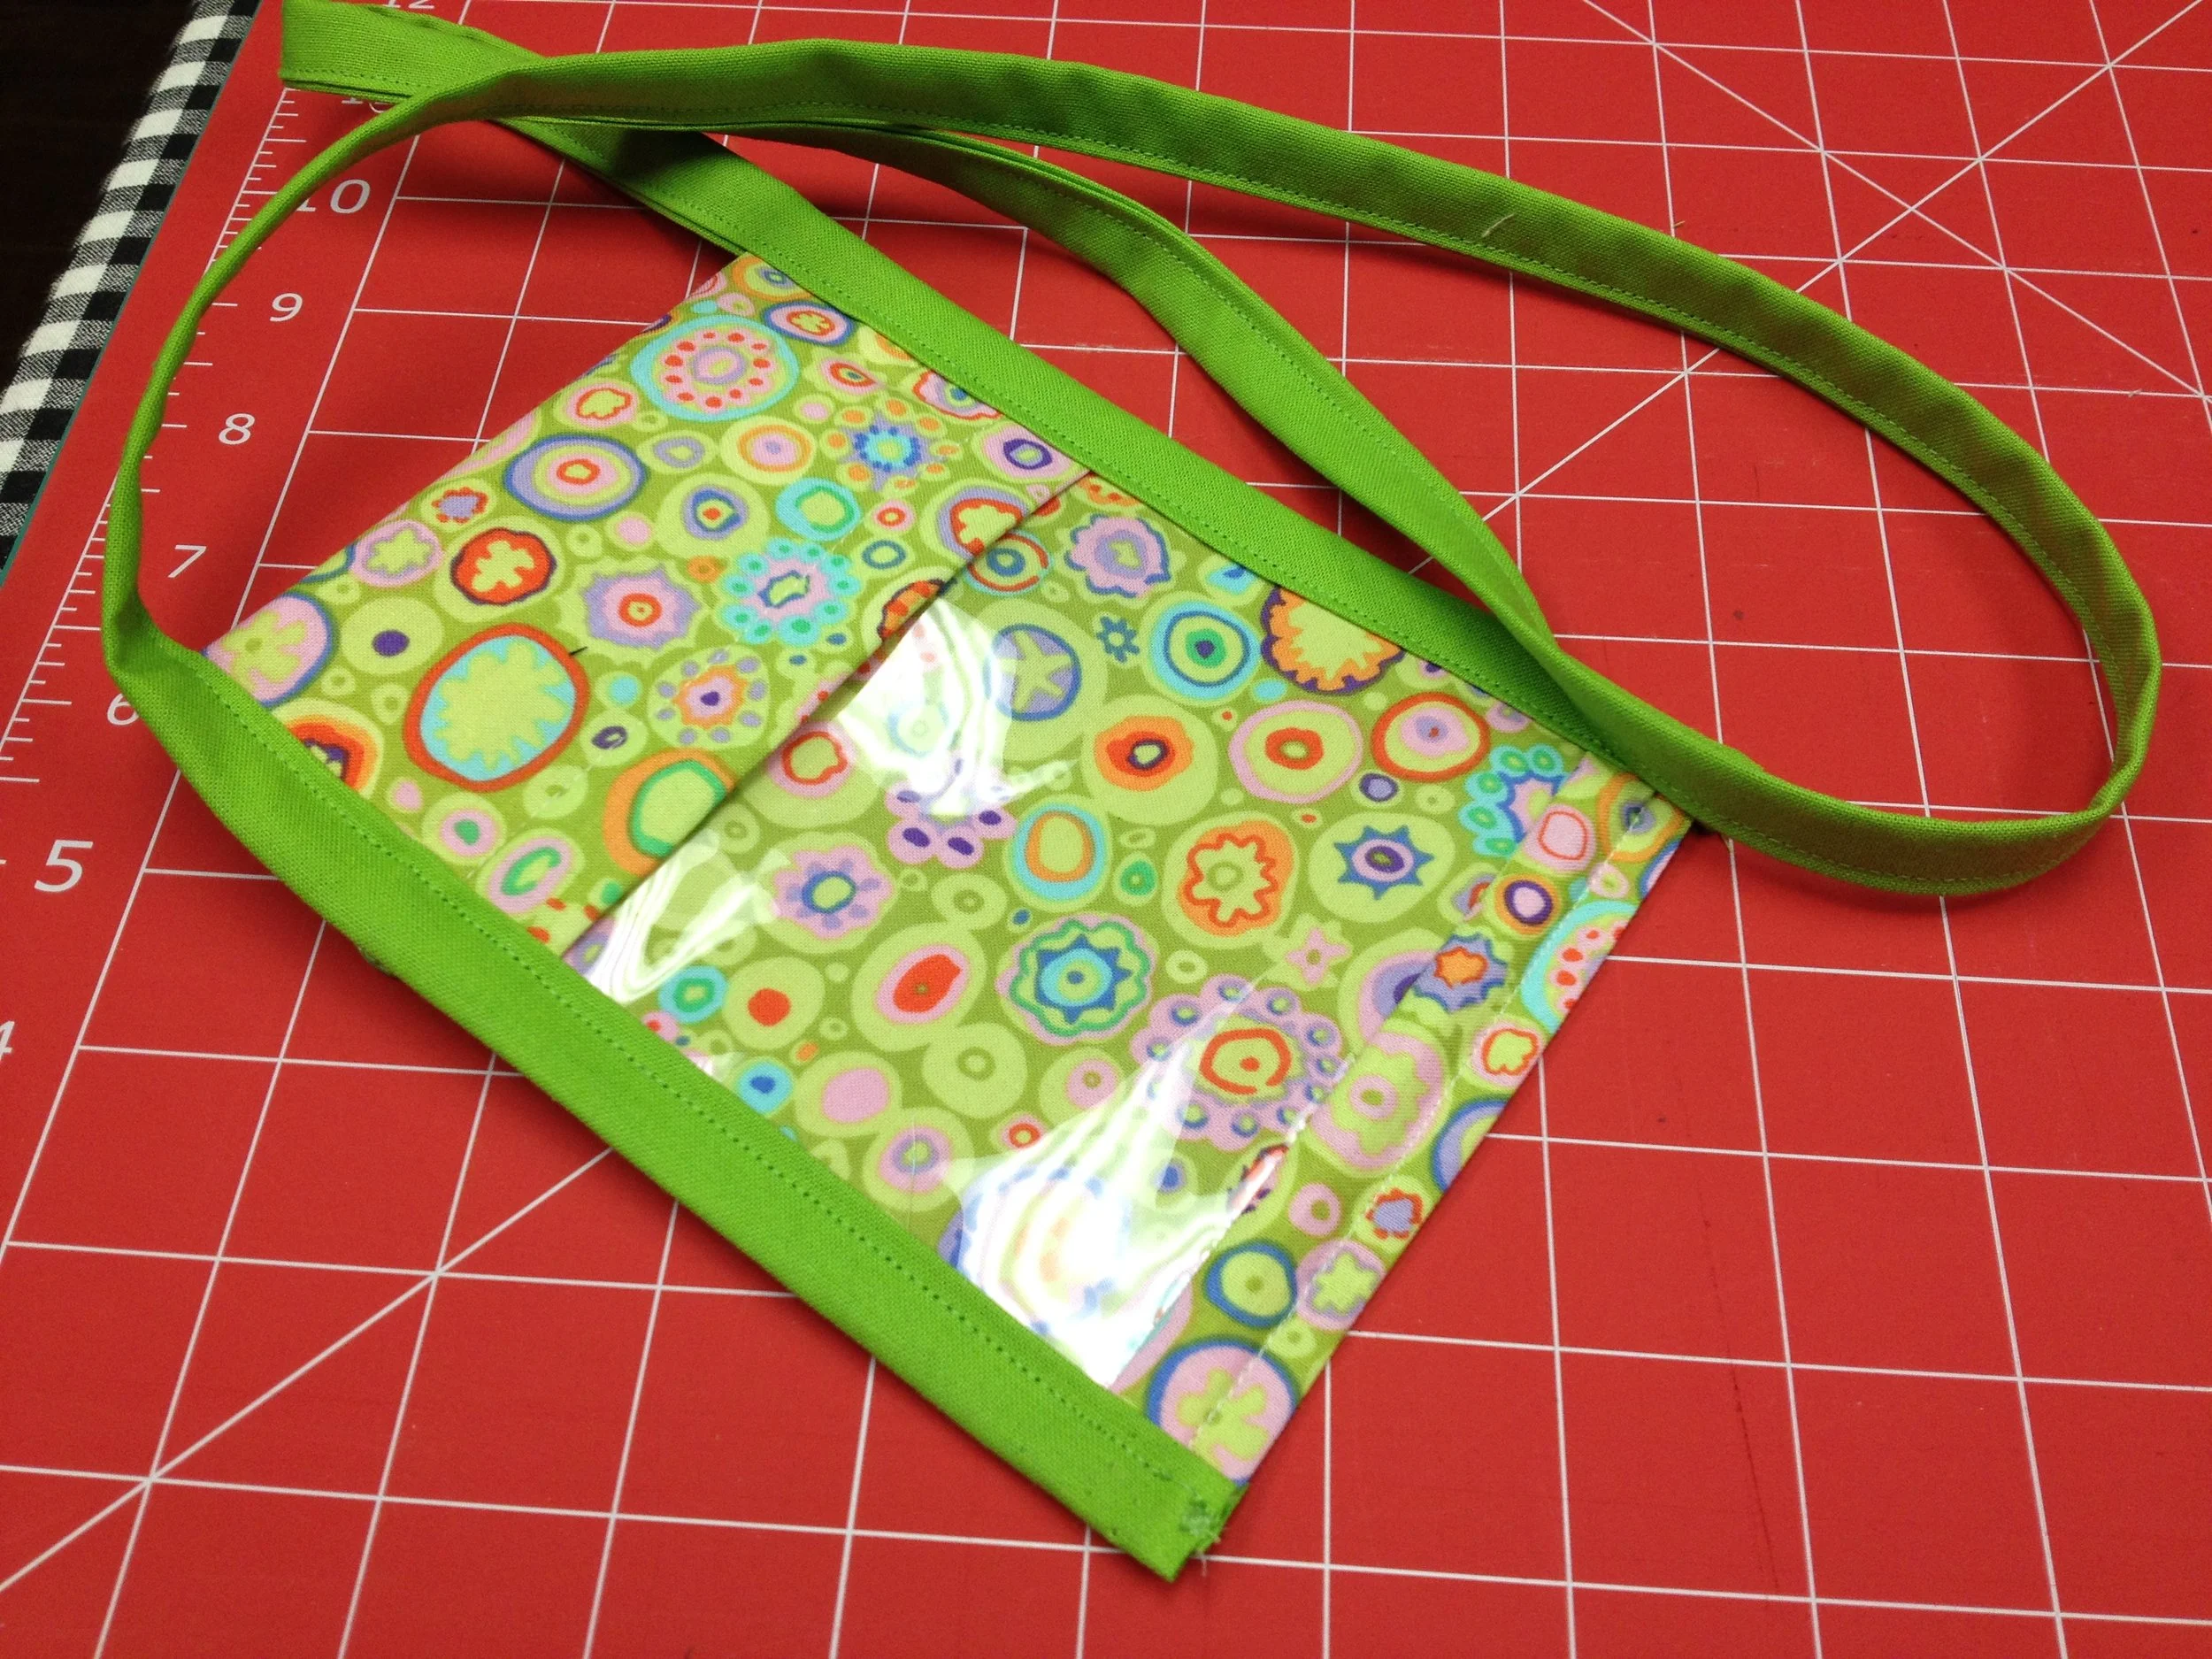
Baste the sides together and cut off any excess zipper. A pair of scissors will do the trick. Zip the zipper half way so it will not interfere with sewing the strap on.
Make the strap by ironing the 2" strip in half lengthwise, and folding the side into the center and pressing again. I used the entire length of the fabric but you might want to make yours shorter. Put the strap around your neck and adjust to the length preferred.
Sew the binding onto one side of the holder and continue sewing the strap closed along the entire length of the strap and sew the other side of the holder into the last part of the binding. It can be done with one continuous seam.
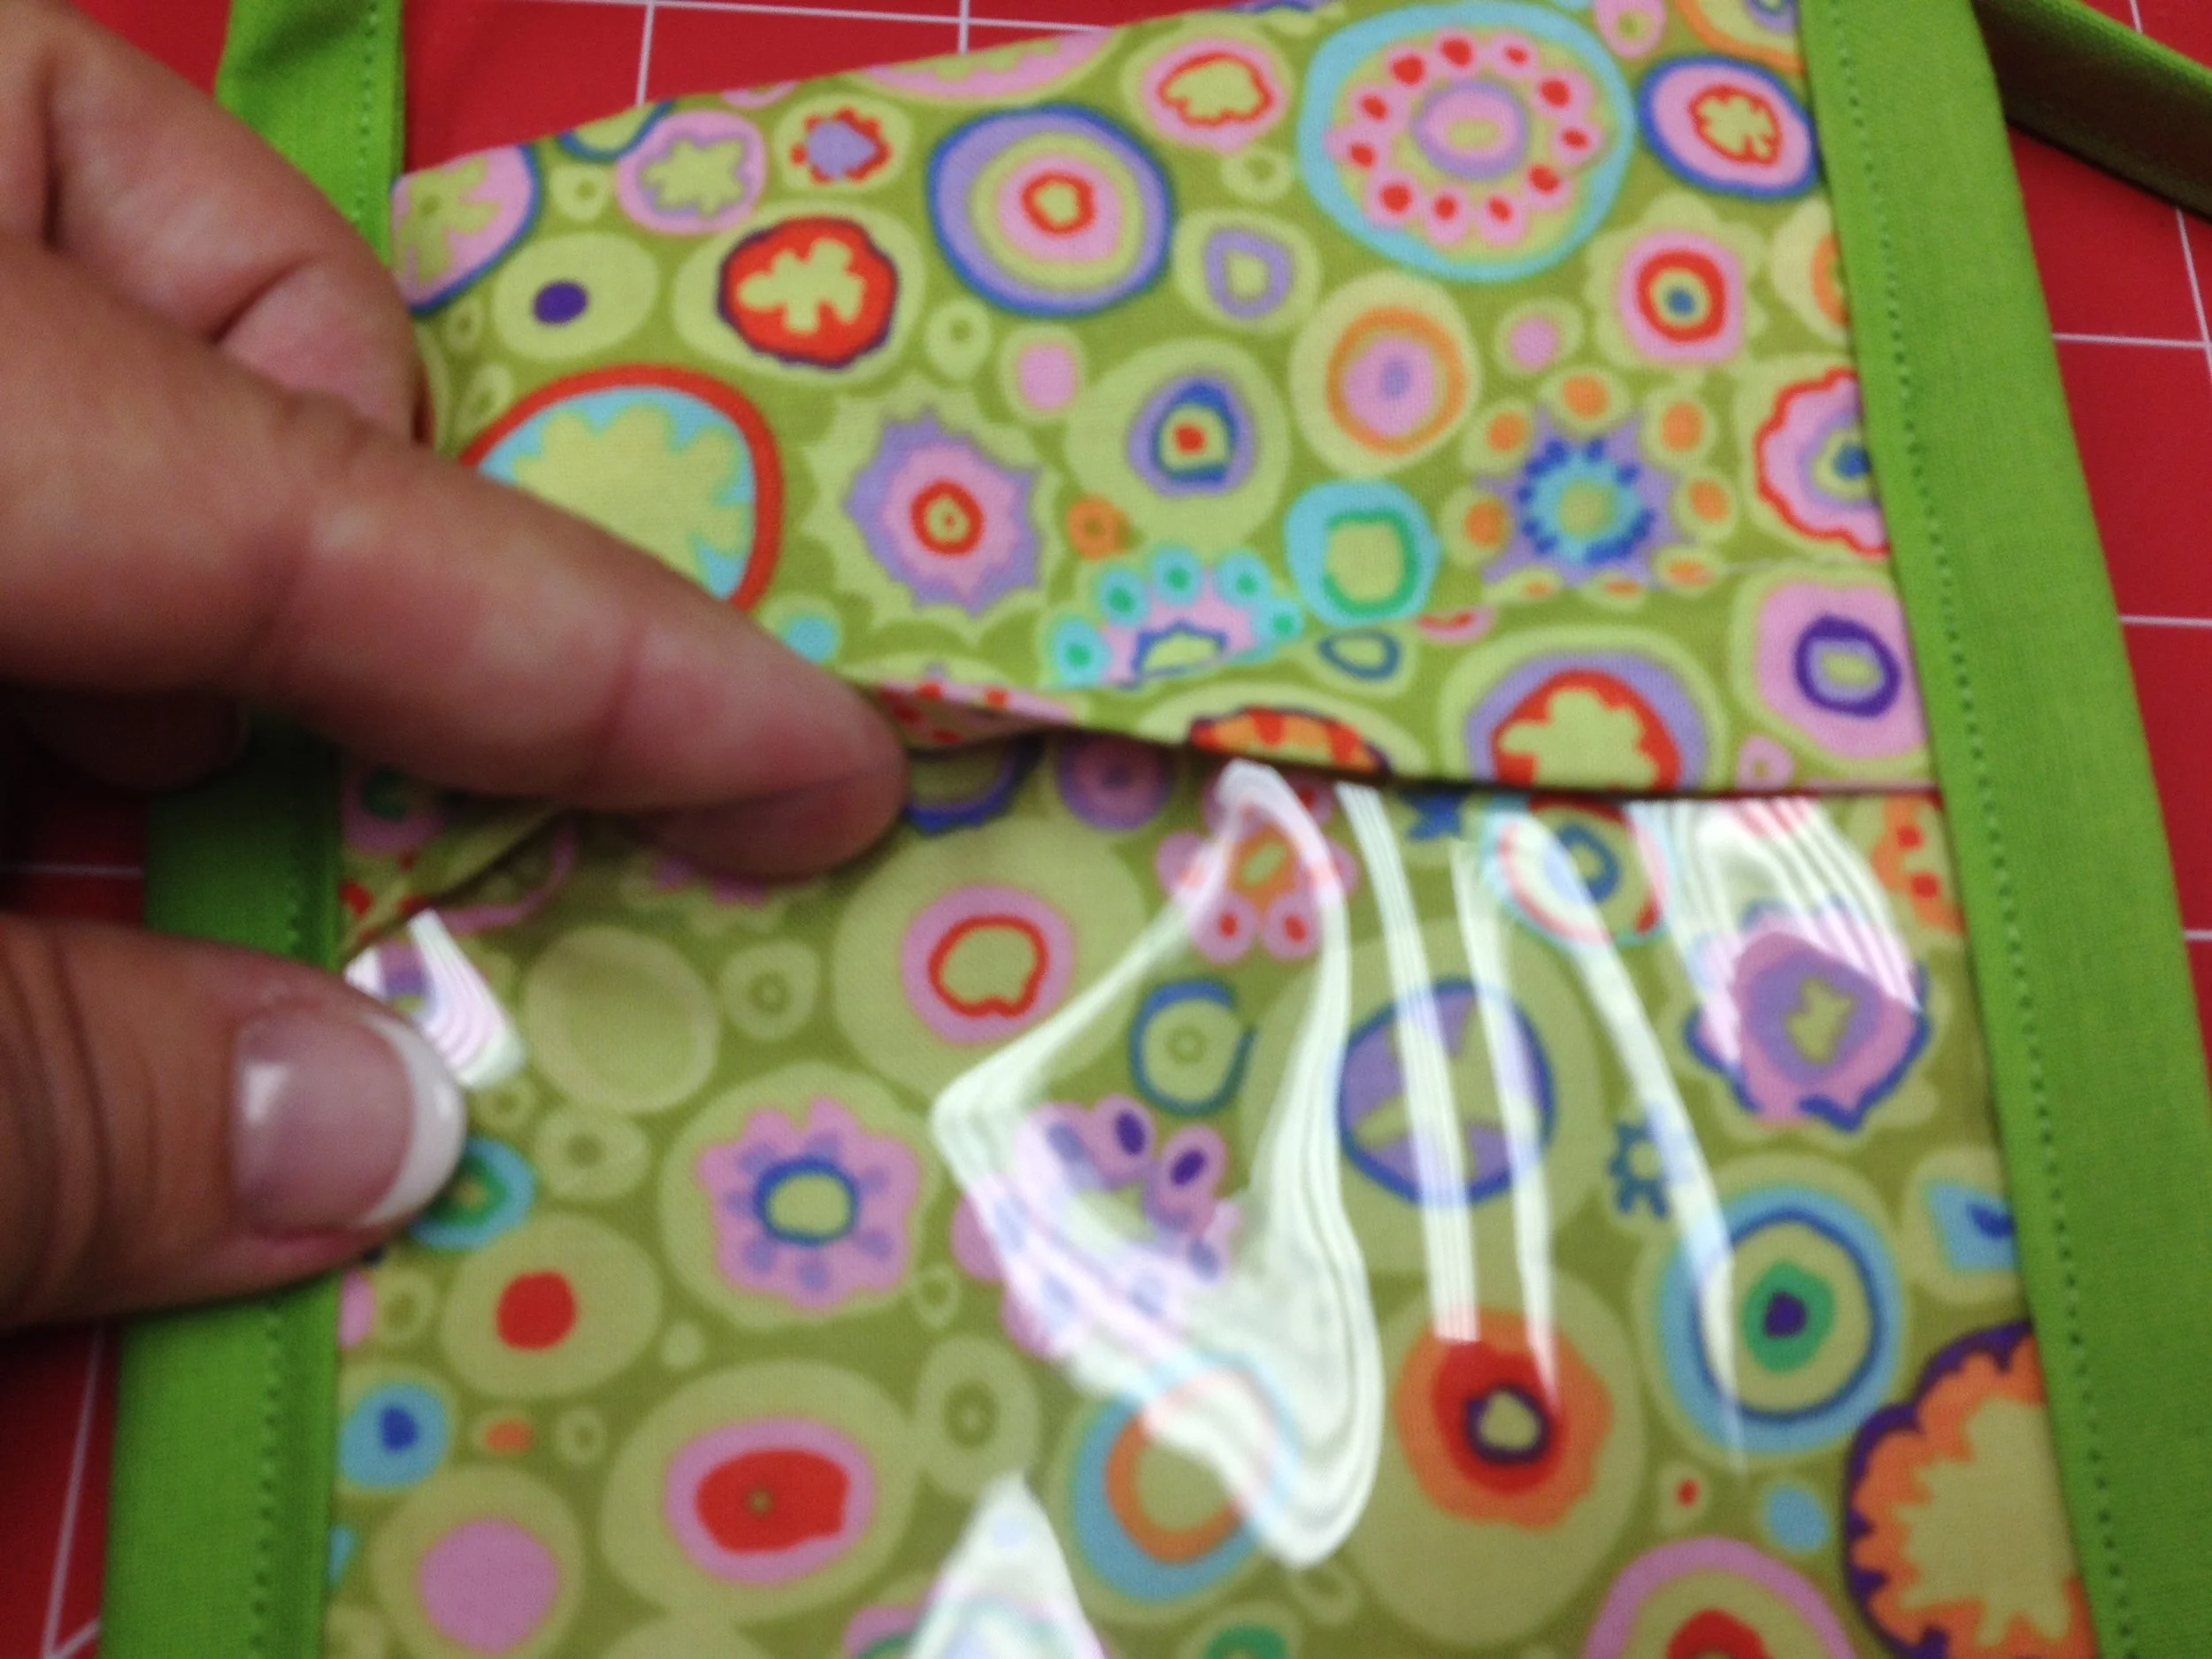
The front of the holder has the clear pocket and the back has the zipper compartment that is fully lined!
Just tuck the name tag into the clear pocket and you are ready to go!
Actually, you will probably want to make several since they are so easy and fun! I made two to go with my outfits I plan to wear.
Enjoy every stitch! Diane